The Ultimate Guide to Building Your First Gaming PC in 2025
A comprehensive step-by-step guide for first-time PC builders. Learn everything from choosing compatible components to cable management and BIOS setup.

The Ultimate Guide to Building Your First Gaming PC in 2025
Building your first gaming PC can seem daunting, but with the right guidance, it's an incredibly rewarding experience. This comprehensive guide will walk you through every step of the process.
Why Build Your Own PC?
Building your own PC offers several advantages:
- Cost Savings: Save 20-30% compared to pre-built systems
- Customization: Choose exactly the components you want
- Learning Experience: Understand how your computer works
- Upgradability: Easy to upgrade individual components later
- Quality Control: Select premium components for critical parts
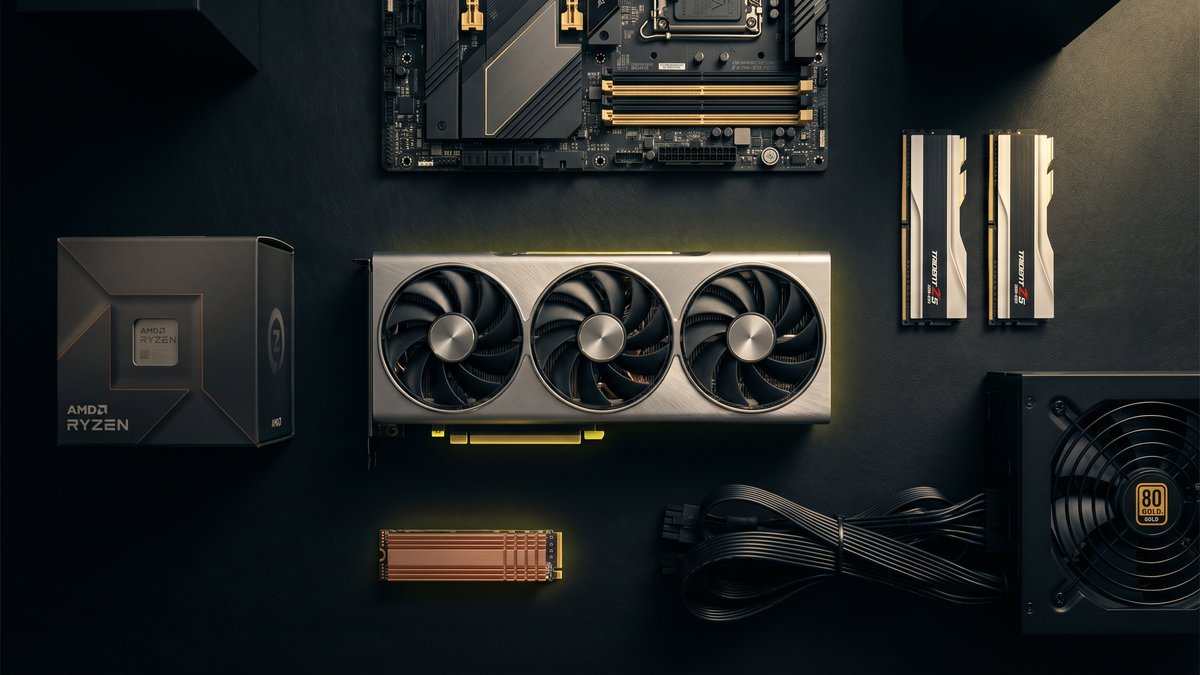
Understanding PC Components
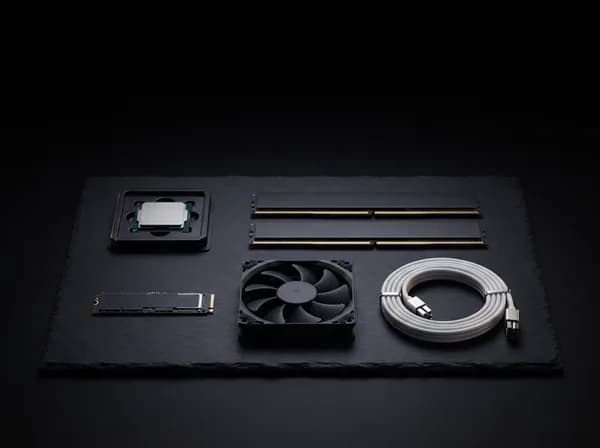
1. CPU (Processor)
The brain of your computer. Choose between:
- Intel: Best for gaming and single-threaded performance
- AMD: Better value, excellent multi-threading performance
For gaming, aim for at least:
- Intel Core i5-13600K or i7-13700K
- AMD Ryzen 5 7600X or Ryzen 7 7800X3D
2. Motherboard
The backbone connecting all components. Key factors:
- Socket Type: Must match your CPU
- Chipset: Determines features and connectivity
- Form Factor: ATX (full size), Micro-ATX, or Mini-ITX
Recommended chipsets:
- Intel: B760 (budget) or Z790 (enthusiast)
- AMD: B650 (budget) or X670 (enthusiast)
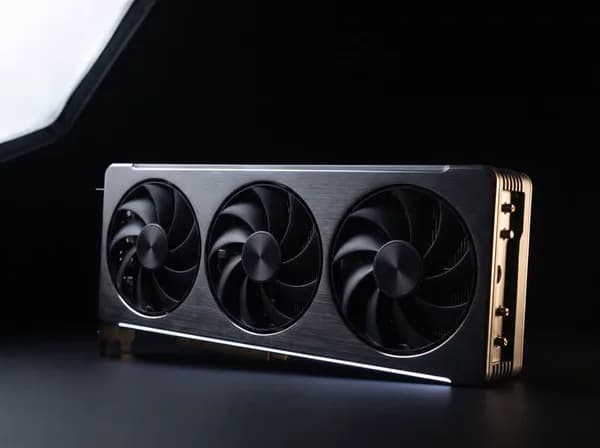
3. Graphics Card (GPU)
The most important component for gaming performance.
Budget ($300-400):
- NVIDIA RTX 4060 or AMD RX 7600
Mid-Range ($500-700):
- NVIDIA RTX 4070 or AMD RX 7800 XT
High-End ($800+):
- NVIDIA RTX 4080, RTX 4090, or AMD RX 7900 XTX
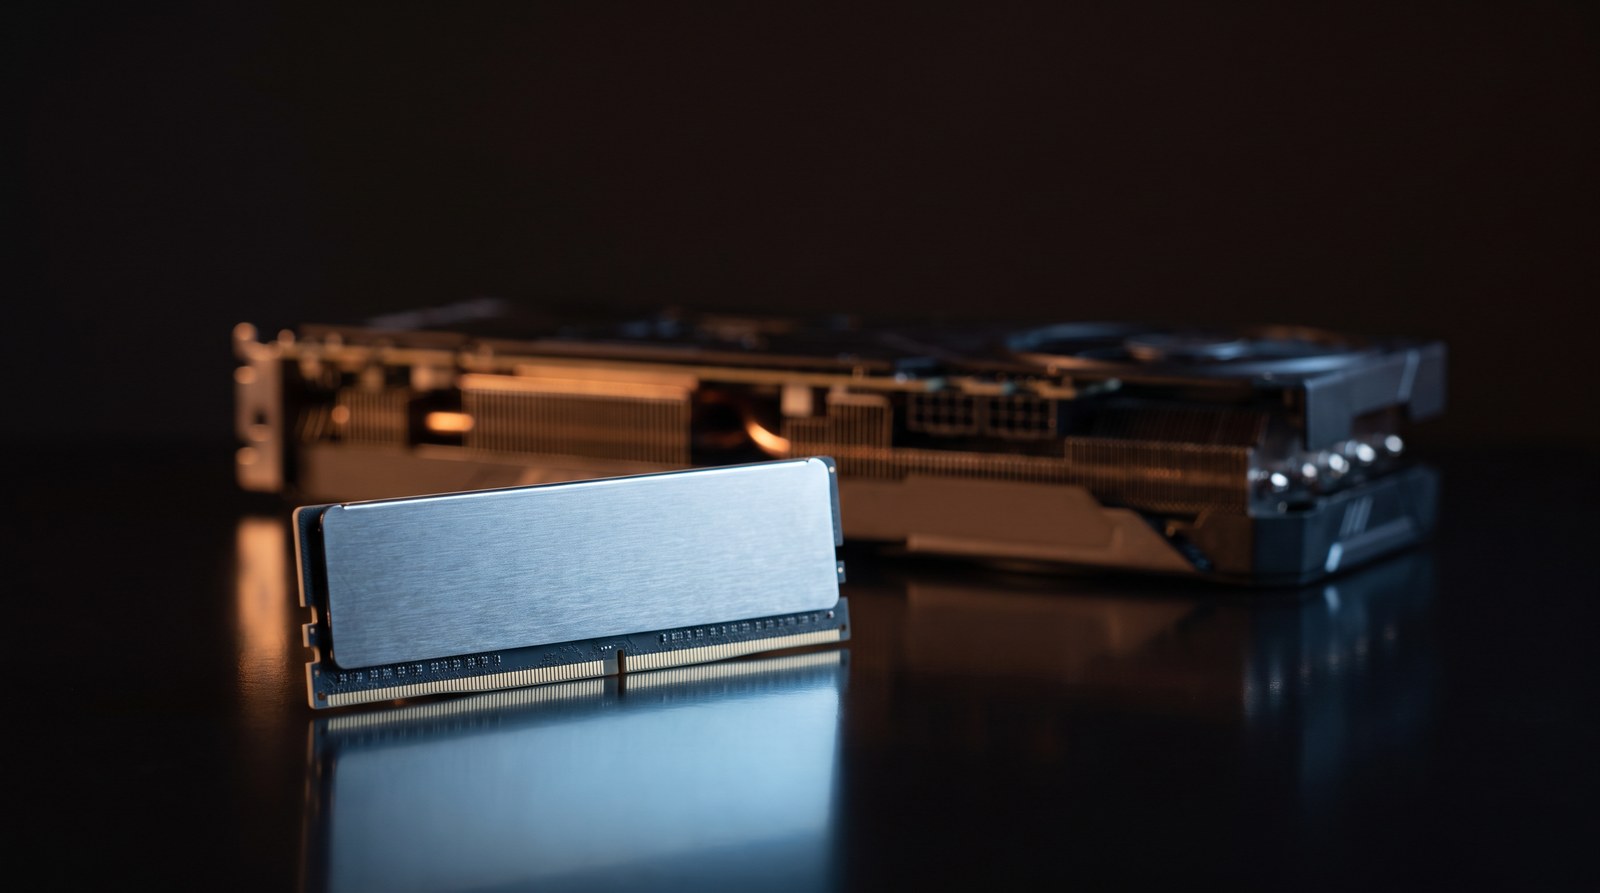
4. RAM (Memory)
Recommended: 16GB DDR4 (minimum) or 32GB DDR5 (ideal)
- Speed: DDR4-3200MHz or DDR5-6000MHz
- Configuration: 2x8GB or 2x16GB (dual channel)
5. Storage
Modern builds should include:
- Primary: 500GB-1TB NVMe SSD (Gen 4 for best performance)
- Secondary: 2TB+ HDD or SATA SSD for mass storage
6. Power Supply (PSU)
Don't skimp on this! Recommended:
- 650W for mid-range builds
- 750-850W for high-end builds
- 80+ Gold efficiency rating minimum
- Modular cables for easier cable management
7. CPU Cooler
- Stock Cooler: Adequate for non-overclocking
- Tower Cooler: Better thermals and quieter ($30-60)
- AIO Liquid Cooler: Best cooling and aesthetics ($80-200)
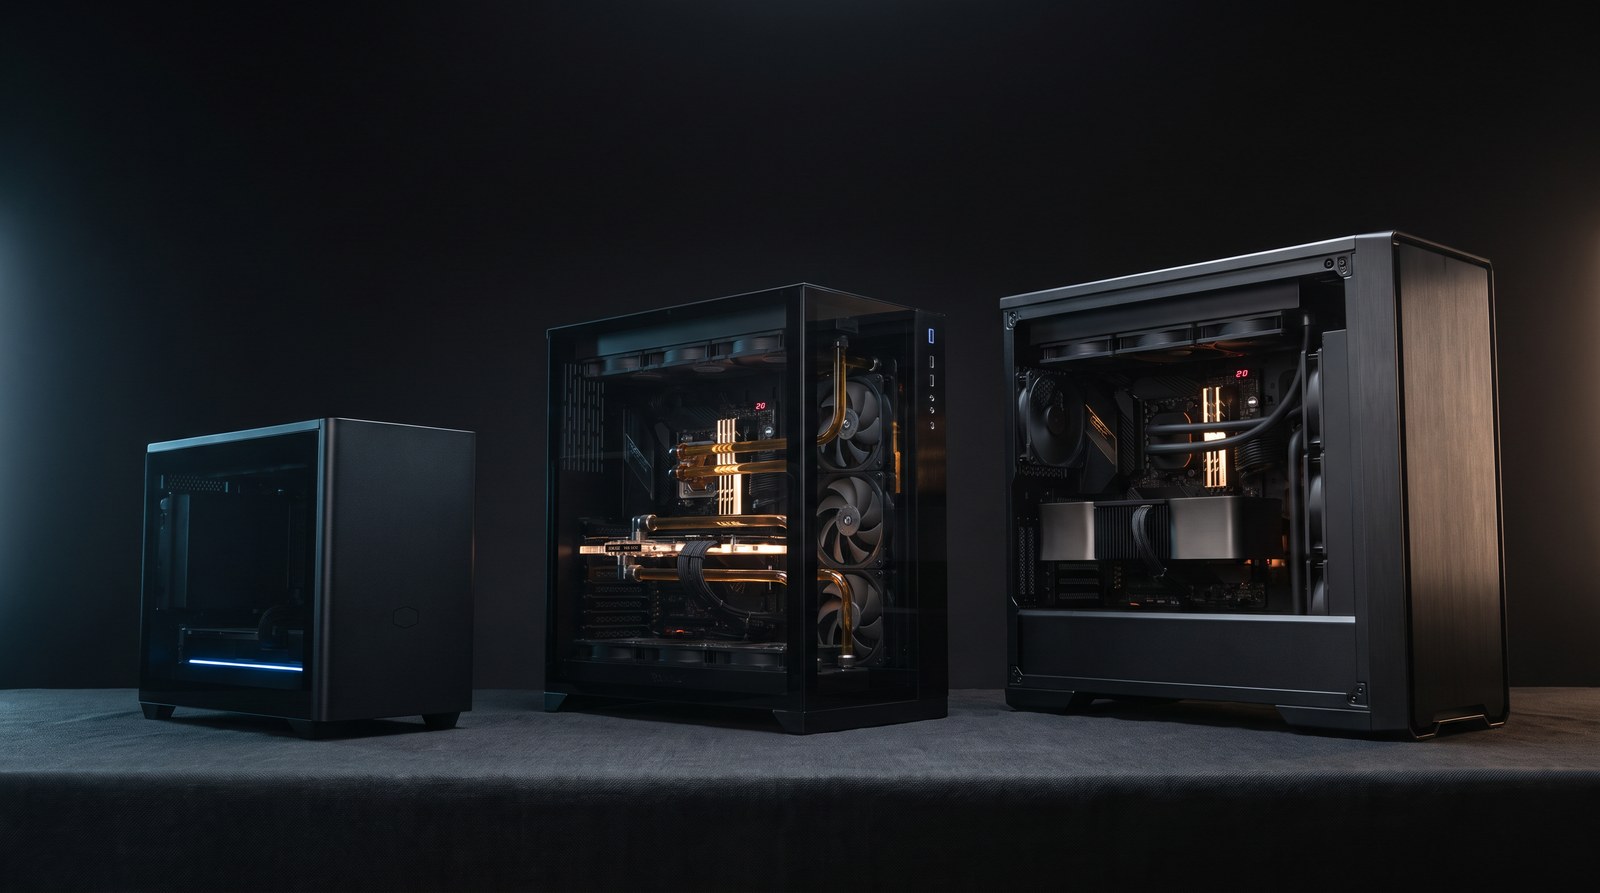
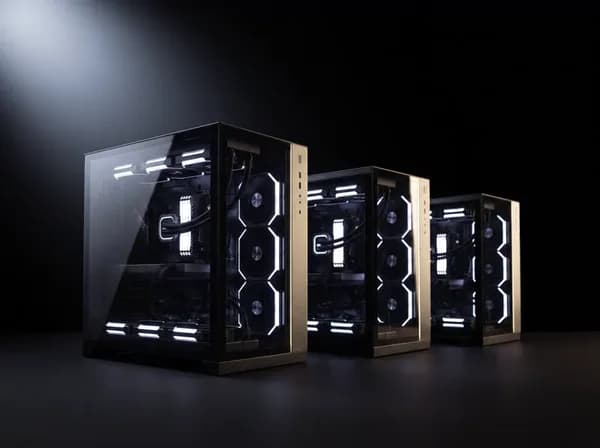
8. Case
Choose based on:
- Size compatibility with your motherboard
- Airflow design (mesh front panel preferred)
- Cable management features
- Aesthetics (RGB, tempered glass)
Step-by-Step Building Process
Step 1: Prepare Your Workspace
- Clear, well-lit area
- Anti-static mat or work on non-carpeted surface
- Gather tools: Phillips screwdriver, zip ties
- Organize components and manuals
Step 2: Install CPU
- Open CPU socket on motherboard
- Align CPU with golden triangle marker
- Gently place CPU (no force needed)
- Close socket arm to secure
Pro Tip: Never touch the CPU pins or contact pads!
Step 3: Install RAM
- Open RAM slot clips
- Align notch on RAM with slot
- Press down firmly until clips snap
- Ensure RAM is in correct slots (check manual)
Common Configuration: Use slots 2 and 4 for dual-channel
Step 4: Install M.2 SSD
- Locate M.2 slot on motherboard
- Remove mounting screw
- Insert SSD at 30-degree angle
- Press down and secure with screw
Step 5: Install CPU Cooler
Follow your cooler's specific instructions:
- Apply thermal paste (pea-sized dot in center)
- Attach mounting brackets
- Secure cooler to CPU
- Connect fan cable to CPU_FAN header
Step 6: Prepare the Case
- Remove side panels
- Install I/O shield (motherboard backplate)
- Install motherboard standoffs
- Plan cable routing
Step 7: Install Motherboard
- Align I/O ports with shield
- Screw motherboard to standoffs
- Don't overtighten screws
Step 8: Install Power Supply
- Position PSU (fan facing down/out)
- Secure with four screws
- Route cables through grommets
Step 9: Install Graphics Card
- Remove PCIe slot covers
- Align GPU with top PCIe x16 slot
- Press firmly until click
- Secure with screws
- Connect PCIe power cables
Step 10: Connect Cables
Power Connections:
- 24-pin ATX to motherboard
- 8-pin CPU power (top left of motherboard)
- PCIe power to GPU
- SATA power to drives
Data Connections:
- SATA cables to HDD/SSD
- USB 3.0 header
- Front panel connectors (power button, LEDs)
- Case fans to motherboard headers
Step 11: Cable Management
- Route cables behind motherboard tray
- Use zip ties to bundle cables
- Keep cable runs neat and out of airflow path
Step 12: First Boot
- Double-check all connections
- Connect monitor to GPU (not motherboard!)
- Connect keyboard and mouse
- Power on
BIOS Setup
On first boot, enter BIOS (usually press DEL or F2):
- Enable XMP/EXPO: Activate RAM's rated speed
- Set Boot Priority: Make your SSD first
- Check Temperatures: Ensure CPU temps are normal
- Update BIOS: Download latest version from manufacturer
Installing Windows
- Create bootable USB with Windows Media Creation Tool
- Boot from USB drive
- Follow installation wizard
- Install motherboard chipset drivers
- Install GPU drivers
- Install other peripherals
Post-Build Optimization
Driver Installation Priority
- Chipset drivers
- GPU drivers (NVIDIA GeForce Experience or AMD Adrenalin)
- Audio drivers
- Network drivers
Essential Software
- Monitoring: HWiNFO64, MSI Afterburner
- Benchmarking: 3DMark, Cinebench
- Game Launchers: Steam, Epic Games
Performance Tuning
- Enable Game Mode in Windows
- Disable unnecessary startup programs
- Set power plan to "High Performance"
- Consider GPU overclocking for extra FPS
Troubleshooting Common Issues
PC Won't Turn On
- Check PSU switch is on
- Verify 24-pin and 8-pin CPU power connected
- Reseat RAM sticks
- Check front panel connectors
No Display
- Ensure monitor connected to GPU, not motherboard
- Check GPU power cables connected
- Try different display cable/port
- Reseat GPU in PCIe slot
Boot to BIOS But Not Windows
- Check boot priority in BIOS
- Verify Windows USB is bootable
- Try different USB port
High Temperatures
- Verify CPU cooler mounted properly
- Check thermal paste application
- Ensure case fans are working
- Remove plastic film from cooler base
Maintenance Tips
- Dust Cleaning: Every 3-6 months
- Thermal Paste: Replace every 2-3 years
- Cable Check: Ensure connections remain secure
- Driver Updates: Keep GPU drivers current
- Storage Health: Monitor SSD health with tools
Upgrade Path
Plan for future upgrades:
- Short-term (1-2 years): Add more RAM or storage
- Mid-term (2-3 years): Upgrade GPU
- Long-term (4-5 years): New CPU/motherboard/RAM platform
Conclusion
Building your first PC is an achievement to be proud of. Take your time, follow instructions carefully, and don't be afraid to ask for help. The PC building community is incredibly supportive.
Remember: There's no such thing as a "perfect" build. Choose components that fit your budget and needs, and enjoy the process!
Happy building! 🎮🖥️
Have questions? Join our NVSX Community Forum for personalized help from experienced builders.